Wednesday, June 10, 2009

Monkey Business

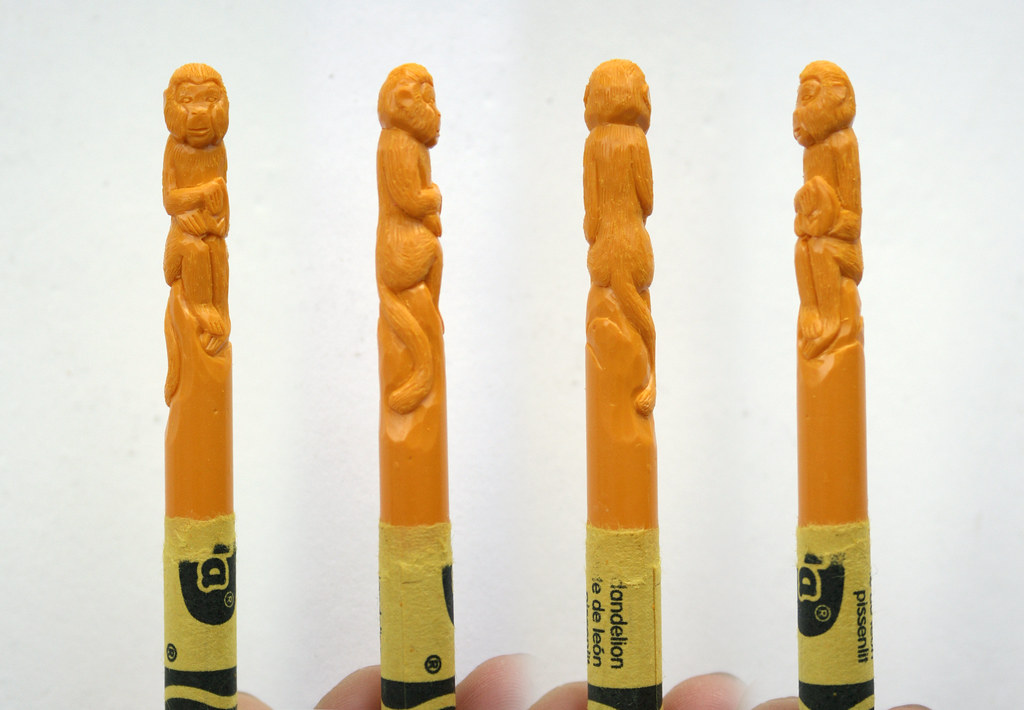
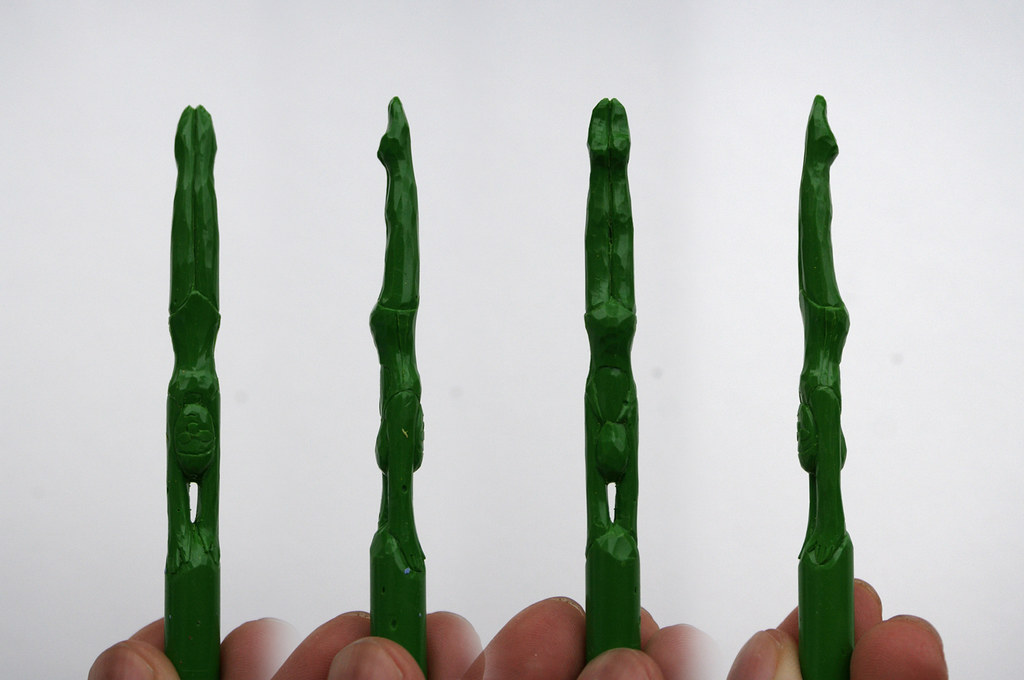
Can you guess?
A currently project. I've always wanted to make a set of Chinese Zodiac figures. With this series I'm trying to push for more detail, make them cleaner and tighter.

Monkey
The Monkey

ARTWEEK Review!

My work has been featured in the June/09 issue of ARTWEEK! It was a review of the show I did with Wendy Given at 5th Floor Gallery in LA. If you're near a newsstand please check it out.
Artweek cover
Artweek text

Here are a few images from the show, thanks to Wendy Given for the shots!
5th Floor Gallery in LA
3 pieces at 5th Floor

Monday, June 8, 2009

Miniature Tree Tutorial

I needed some miniature trees for an art project earlier in the year and found some on Ebay for making model landscapes and train set scenery.  They would have worked well but I really wanted specific tree forms so I decided to make my own. Here's my tutorial, it's such a simple and quick project.

Materials for Mini Trees
Materials:
2 pairs of needle nose pliers with wire cutting feature
Copper or steel wire, 26 gauge is preferred
Ruler for measuring wire for cutting
Beads, bases or other embellishments (optional)
5 minute or quick dry Epoxy for securing tree to base
Safety glasses (& rubber gloves if you have a hard time holding the wires)
*I've used brass wire, but it's much too stiff to bend easily and silver wire tends to be too soft and breaks too easily.
*You can use a lower gauge. thicker wire, but it'll be harder to work with. But it's helpful if you want to make bigger trees.

1
Step 1:
Cut five lengths of wire about 7"-8" long. As a rule of thumb the wire should be three to four times the height of your tree. I'm making a 2" tree so these wires are 7"-8"long. It also depends on the shape of your tree... an upright will need less wire length... a weeping will need more. You'll get the hang of it once you make a few.

2
Step 2:
Loosely bend wires in half and make sure not to crimp the wire (like in the upper right).  You want a U shape and not a V shape.  Gather all the wires together and match up the cut ends.
If you want a beaded tree then insert 3-5 beads per wire (lower right). Basically each bead equals to the number of branching you get.

How to use pliers
Step 3:
Starting from the cut ends and twist all the wires together.  It may be easier to start the first few twists with your fingers then use the pliers to tighten the turns.  It takes a few tries to get the twists tight and even, but be careful not to over twist or you'll break the wires.  Keep twisting until you get your desired trunk length.  This is a judgment call, I usually go half way up like this:
3

4
Step 4:
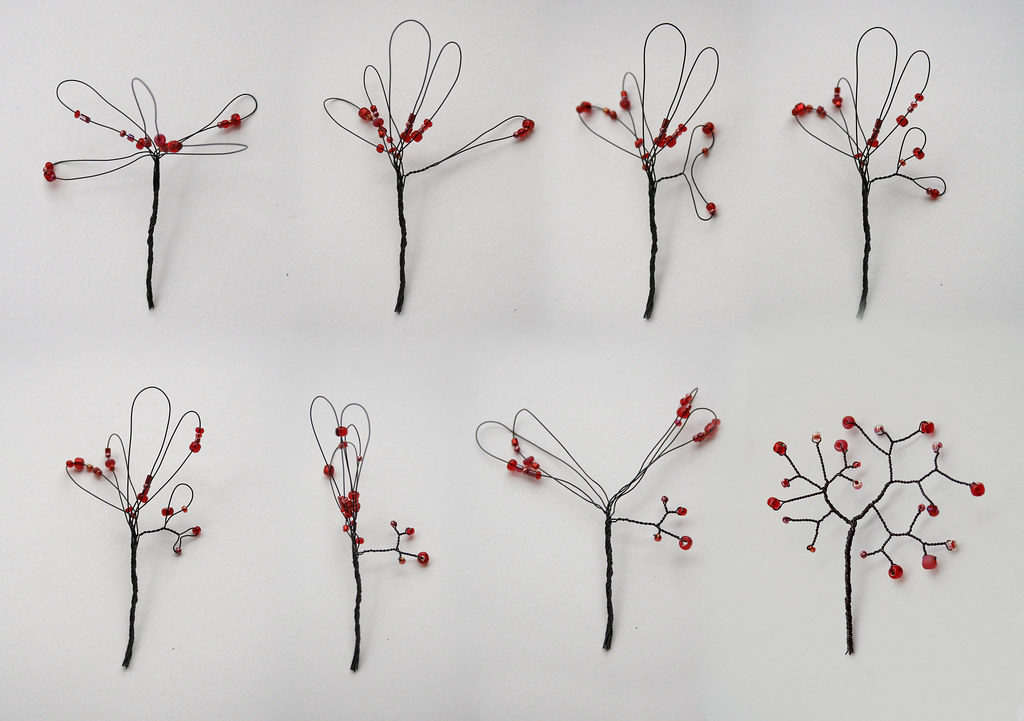
Once you’ve finished the trunk fan out the looped ends and start branching.  Divide and twist… divide and twist. Work each branch to completion then move on to the next one. There’s no wrong way to do this, just use your judgment. You’ll get better at making more realistic trees after you make a few. Just be sure to not over twist or the wire will break.
If you’re working with beading make sure to divide the beads evenly when you branch. Each bead will sit at the tip of each branching.
(*Tip: More branches you give you shorter trees/branches. Fewer branchees will give you longer limbs or taller trees. Longer branches will be better for a windswept or weeping tree.)

Have some fun... don't worry too much about how it'll turn out until you've got the process down. The fastest way I learn is by making mistakes :)  This is what finished branching looks like:
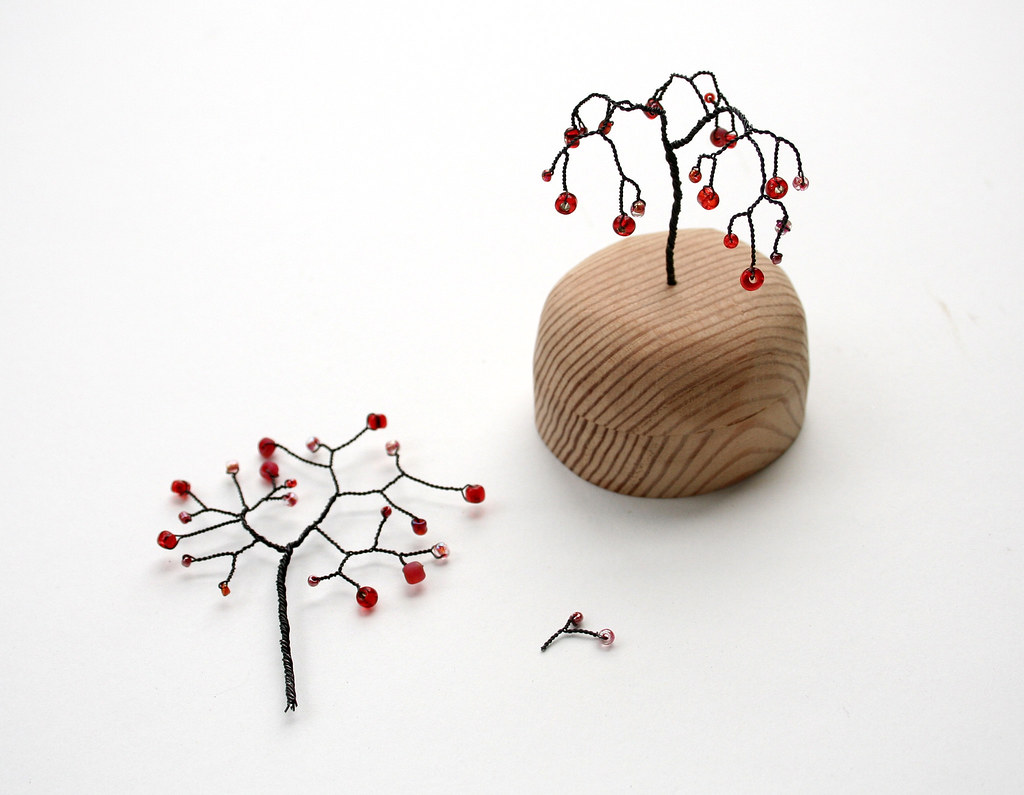
Finished Branch

Finale!
Finishing/ Step 5:
Now that you have your finished branch you can shape it to become your tree! This is where a little creativity and play comes in. The wires are very malleable so feel free to bend away... try different forms. If you're unfamiliar with tree shapes I recommend looking at Bonsai books for inspiration. For a good base drill a small hole in any suitable object. Apply some epoxy to base of tree to secure your planting :)

Have fun folks!
Here's more of my DIY's
Thursday, June 4, 2009

Show at Pulliam Gallery

Beneath The Trees
I have some new work showing at Pulliam Gallery (formerly Pulliam Deffenbaugh Gallery) in Portland, OR. The opening was last night and sadly I couldn't make it there. The show runs through the month of June. Please stop by if you're in town.

Pulliam Gallery
929 NW Flanders Street
Portland, OR 97209
503-228-6665
Hours: Tuesday to Saturday, 11 - 5:30

In other news, mom was in a car accident over the weekend. The car is undrivable, I hope she'll be OK...

Friday, May 8, 2009

The Little Guys

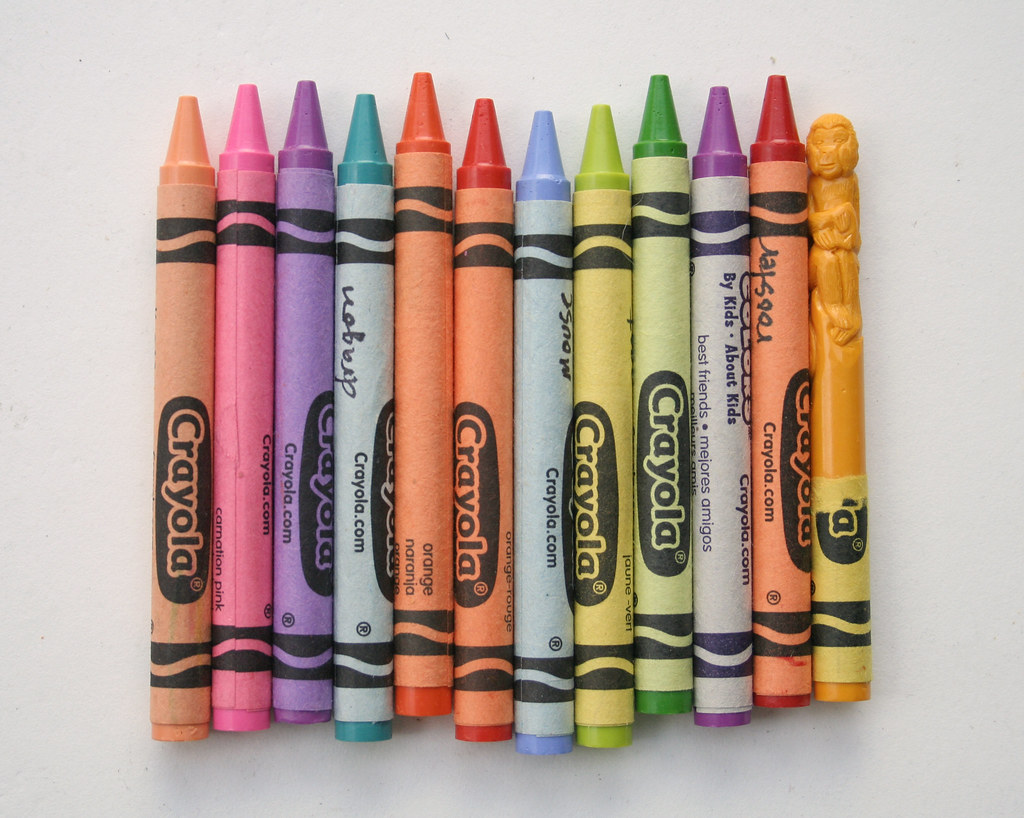
Here are a few of my favorites crayons in the US Cellular commercial. Some made it on screen and some didn't.
Boyfriend
He's the one you see in the end.


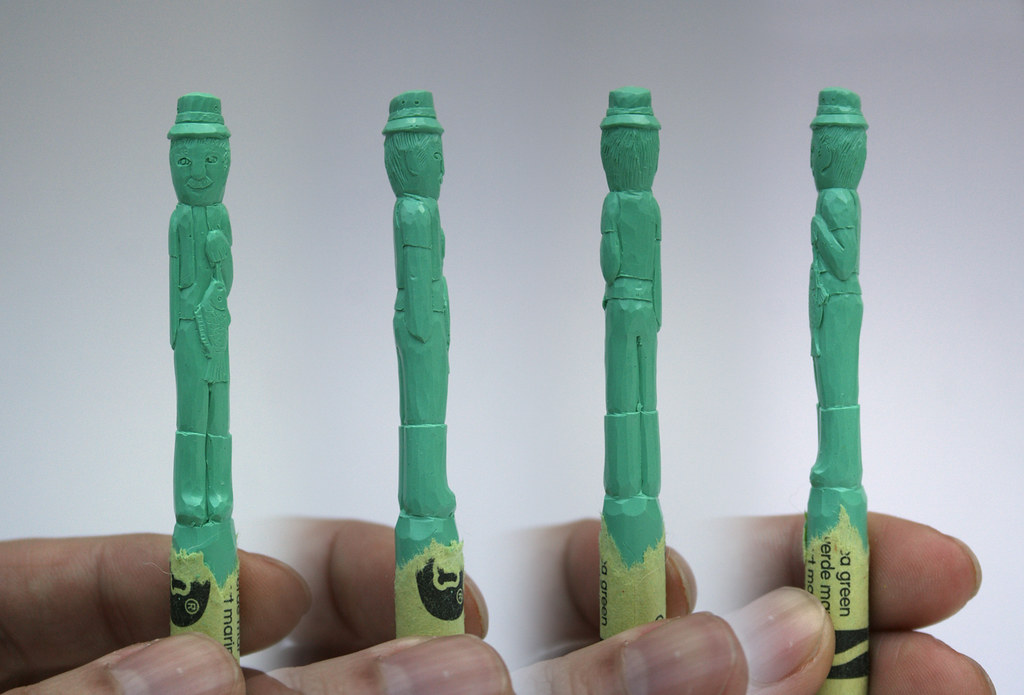
Fisherman
This guy made it on screen... He's the happy looking one with the mustache.

Curly Haired Girl
You see her towards the end.

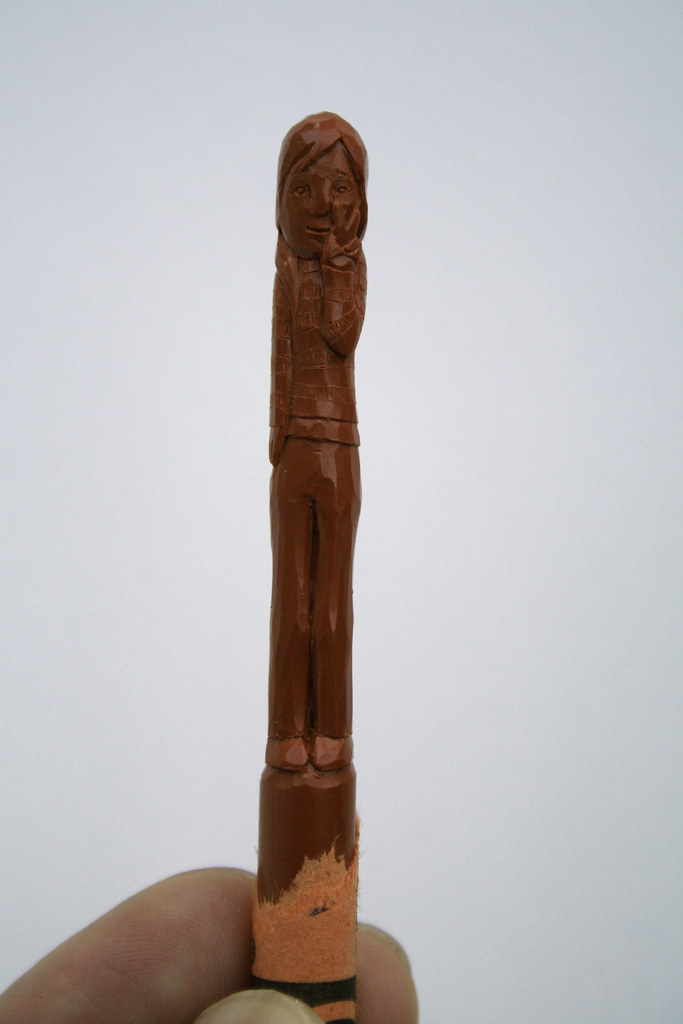
Me :)
I made a little self portrait... but I don't think she made the cut! :P

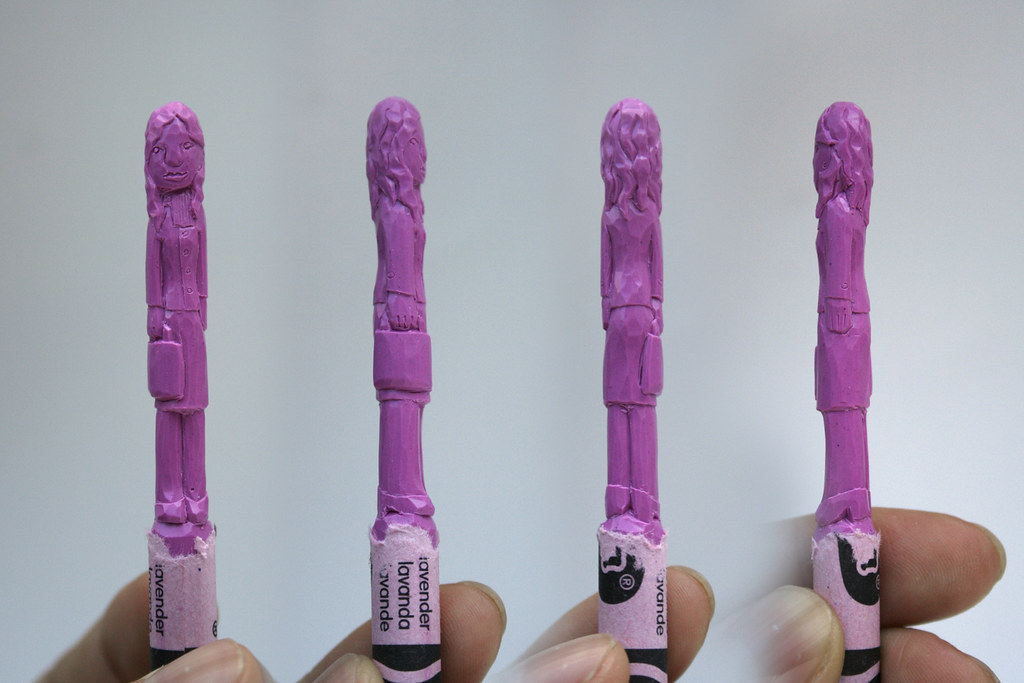
Peace!
Love this gal! I don't think she made it in though...

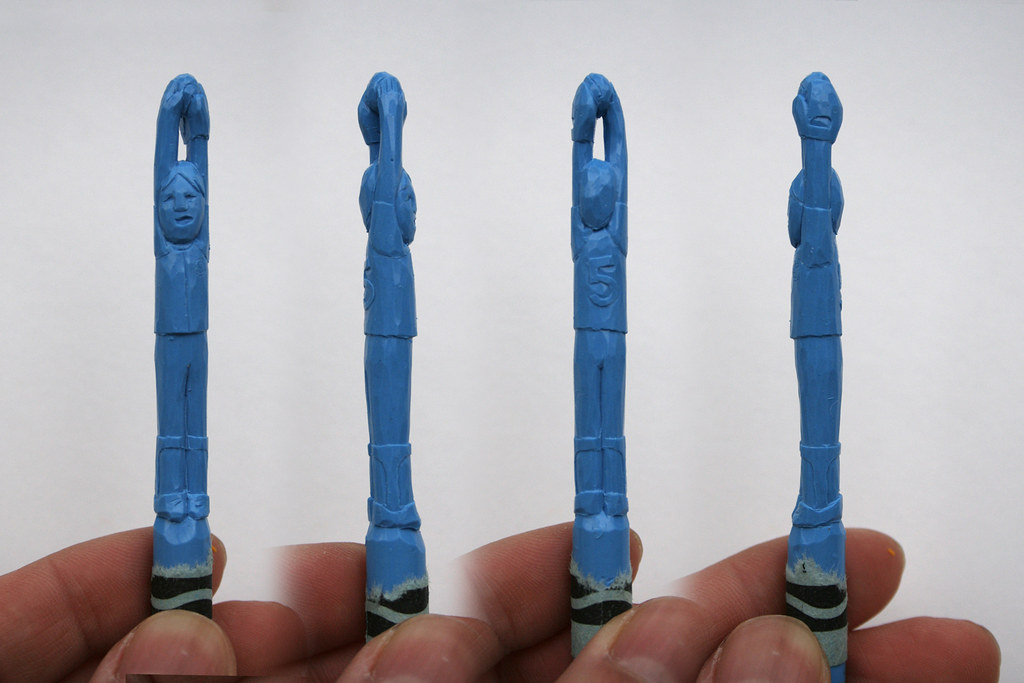
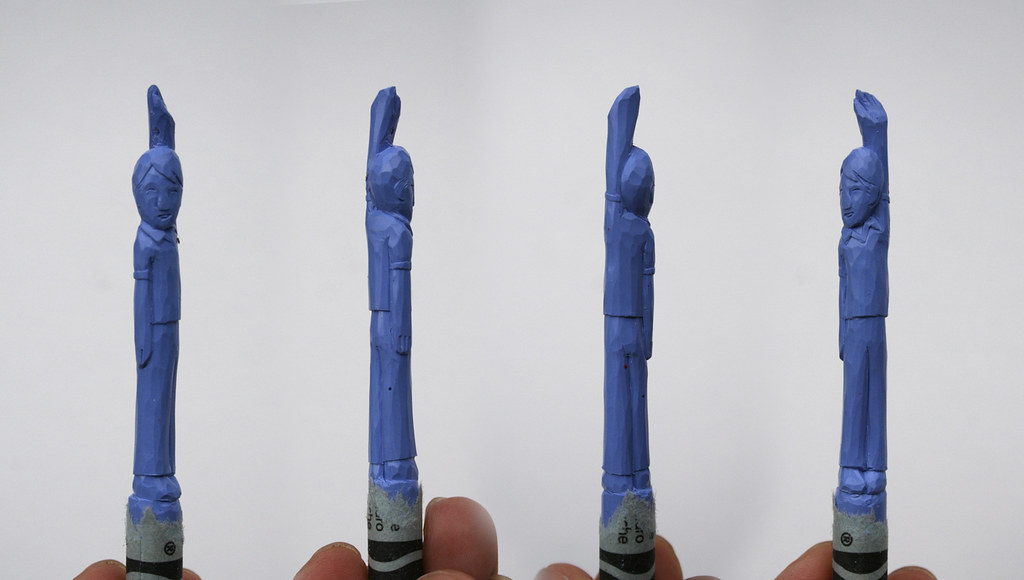
I don't think the following ones made it into the commercial but I really love them. I think you might see some in the background? The creative crew asked me to do something new... they wanted a few crayons with their hands over their heads. I wasn't sure if I could do it, but they turned out VERY WELL!
Catcher
Diver
Girl Waving
Guy Waving

Behind the Scenes

Here are some fun shots of production of the US Cellular commercial in Santa Monica. Wish I had more time to spend in the city, I'll have to comeback.

Cleaning up the molds
I'm cleaning the seam-lines of the molded crayons and getting them ready for their closeup/melting doom!
photo by Kevin Berve


Setting The Stage
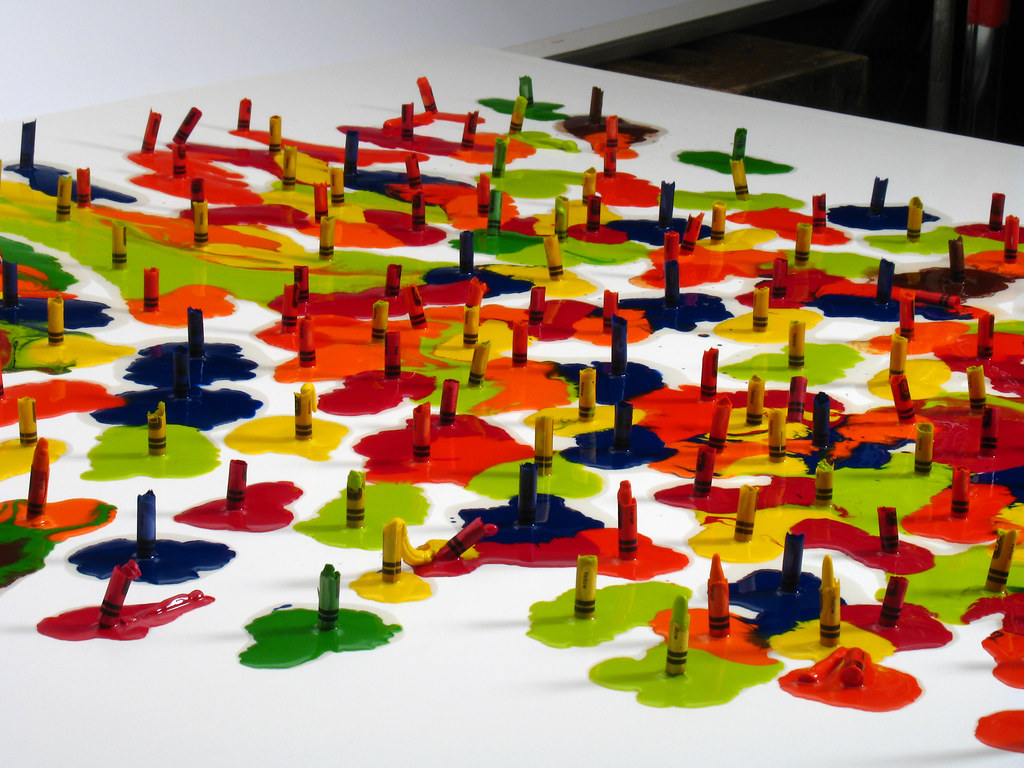
Kevin Berve and his assistants putting all of the crayons in place. They were set with glue from glue sticks. I was surprise they held up, not a permanent application, but it did very well.

SO MANY CRAYONS!
These were the drones. Made from silicone molds taken from the originals I did. There were hundreds! I kept a few and a few went to the crew, the rest were destroyed (no Ebay for these guys). :P Here are some of the other crayons:

Precarious
The entire platform with hundreds of crayons was lifted and carried into place. Some careful & precarious maneuvering involved.

Here it is!
My originals were in front and the background crayons were the copies.


How it looked
I love seeing this set up... so complex. My first time on set, I definitely have a greater appreciation for stage/film production. These folks work very hard. The day started for most at 7am, some earlier and doesn't end until 6 or 7pm... sometimes later depending on what had to get done. So basically you go until the job is done. I do that when I have a crunch time as well, but I can't imagine having this schedule as a daily job. On the other hand the food was AMAZING!!! We were very well fed. :)

Lights
Another view of the set-up.

Melted Close-ups
The aftermath. Photo by Kevin Berve

Before and Aftermath

Food For Thought: May

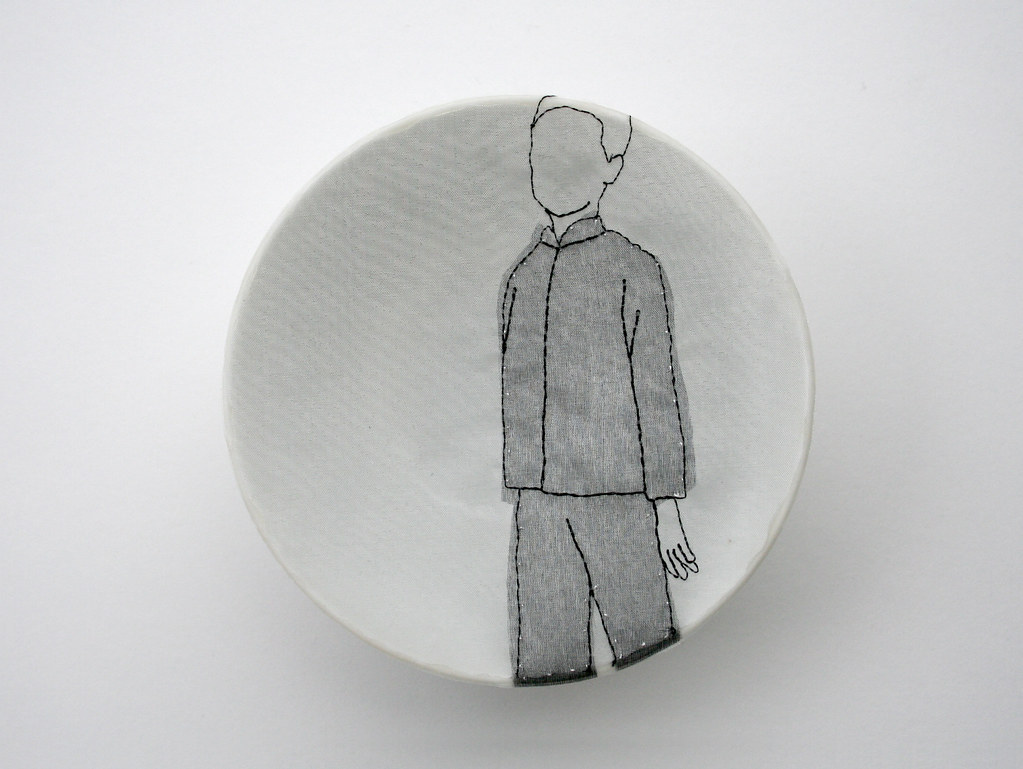
"Duty"
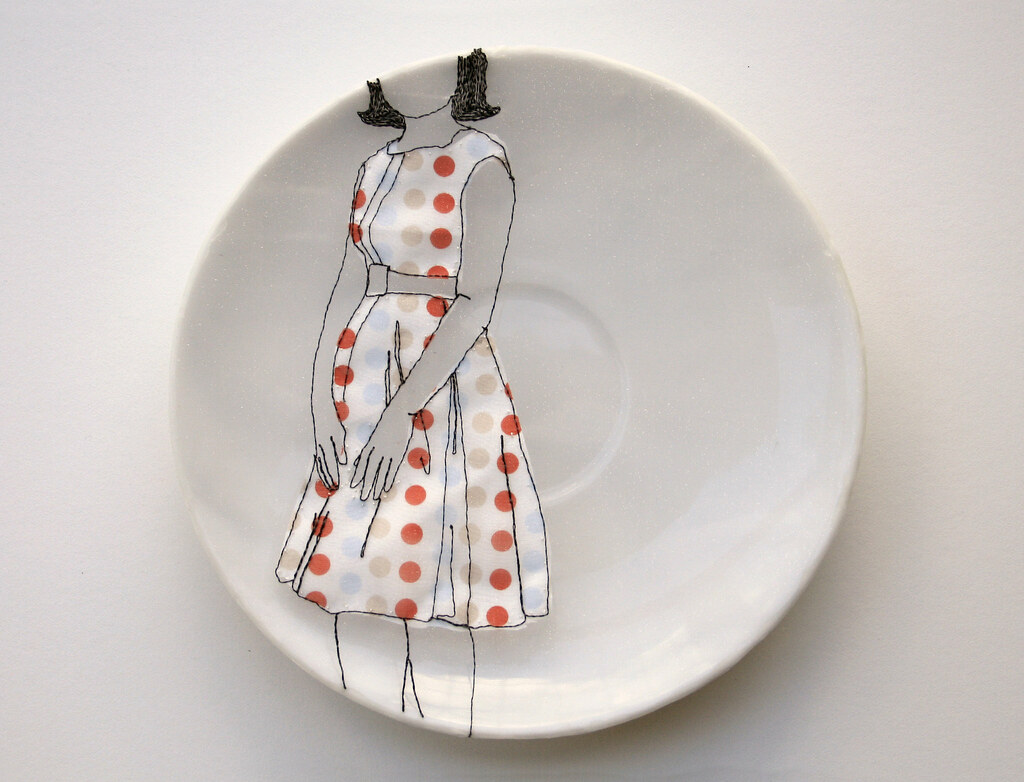
Silk organza, thread & porcelain rice bowl
4 3/4" diameter X 2 1/4" high
$400.00
Food For Thought: Duty
This is the second piece I'm offering for "Food for Thought". The project had a hiccup last month due to my work schedule, so I've amended it to once every 2 months. The basics is: I sell a piece of artwork and donate 100% of the sale to Northwest Harvest, a regional food bank organization.
March's crayon piece is also available. To purchase please contact me at: diemgia@gmail.com

Duty detail