I remember making paper blossoms for Lunar New Year decoration as a kid. It's a symbol for Spring, luck and prosperity. This is a fun and very simple project. You can make your own just in time to celebrate the
Lunar New Year on January 23rd! Have fun!
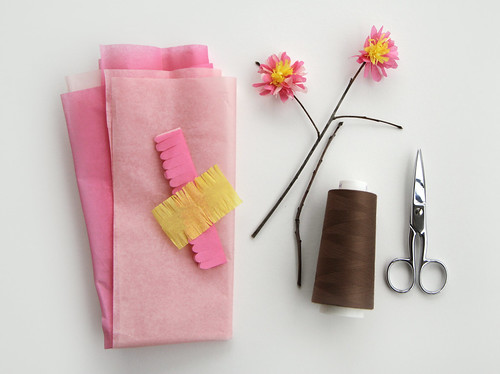
Materials:
Pink &
yellow tissue paper (or whatever color you'd like to make)
Tree branches/twigs
Scissors
Ruler
Thread (I used brown to match that color of my branch)
Get the better quality tissue paper, usually they sell it by the sheet on racks. This paper is stiffer, stronger and will hold it's shape better. No worries if the only thing you can find is gift-wrap tissue. This will work too, it's what I used for this tutorial. One sheet is easily enough to make 40-50 flowers.
Making The Petals
Step 1:
Cut
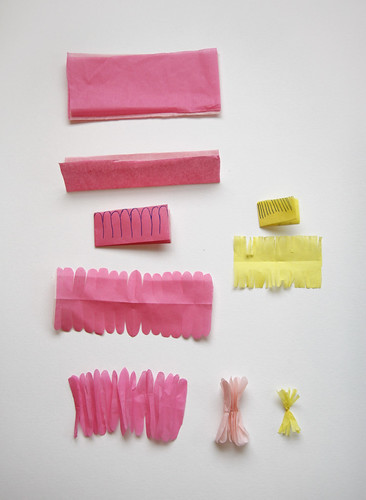
pink tissue into 5" x 2" pieces. They can be a little longer if you want a fuller flower with more petals. I like to stack a few pieces together and cut them at the same time. The tissue is so thin it's easier and faster to cut a small stack vs. one sheet.
Step 2:
Fold the tissue pieces into quarters... fold it in half length-wise and then fold in half width-wise. Again I like to do this to 4 pieces at a time.
Step 3:
Cut deep lobed scallops along the open edge of the folded tissue. So when you unfold the paper it will be scalloped on both edges. Each scallop will become a petal when the flower is finished.
Step 4:
Gather the tissue by roughly pleating it. It doesn't have to be neat, just keep the paper centered. Pinch it in the center, don't twist. I find it's easier to fan out the petals at the end when it's not twisted.
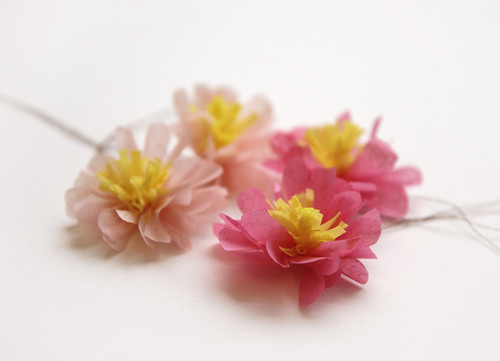
You've just made the petal portion of the flower!
Making the Stamens:
The stamens are made the same way as the petals. Use
yellow tissue paper and cut it into 2" x 1.5" pieces. Fold the tissue pieces in quarters and cut slits on the open edge creating a fringe on both sides when the paper is unfolded. Because the sections are so small it might be easier to cut a long strip that is 1.5" wide, fringe it then cut it into 2" sections afterwards.
Repeat step 4 from making the petals and gather each sections, pinching it at the center.

Step 5:
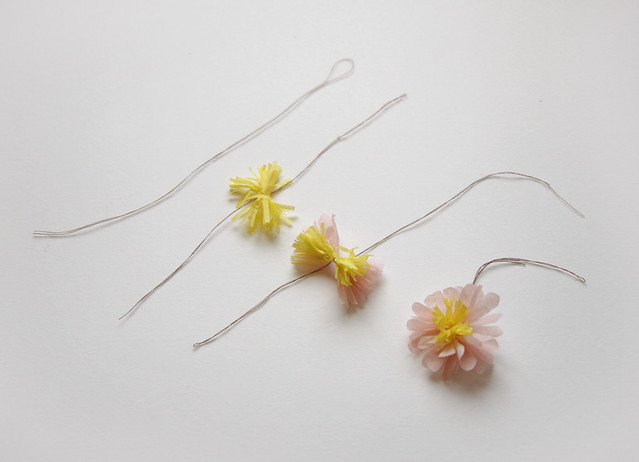
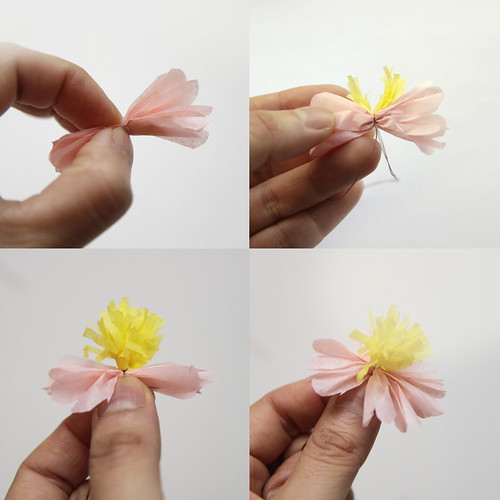
Now you have both the petals and stamens finished. It's time to assemble the blossom. Take a section of string and tie a double knot at the center of the stamen piece. Then tie a double knot around the petal piece. You'll get something that looks like a feathery bow.
Step 6.
Now your flower is assembled, you just need to fluff it out! Take the stamens and pinch them up. You can tug on them a bit, but don't pull too hard you might tear pieces out. Then fan out the petals and fluff them up. A better quality tissue will allow you to manipulate the flower more without tearing.

Step 7.
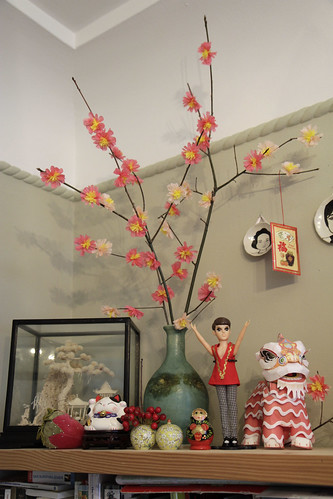
Tie the flowers to your branch and trim off any excess string. Use your aesthetic judgement on what looks best. ;) You can make bigger branches for a center piece or just small bouquets. If the flower flops around too much on the branch you can always add a dob of glue to hold it in place. You can also make garlands by tying them to a ribbon.
Thank you for visiting the blog!
新年快樂!