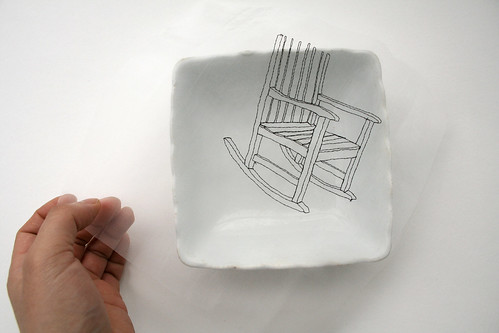
The most asked question I get is, "How do you get the drawing on the bowl?" So I decided to document the making of piece from start to finish. Here is Part 1.
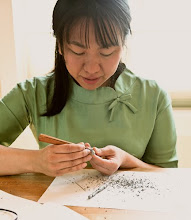
After I finished with the embroidery I play around a bit with the composition.
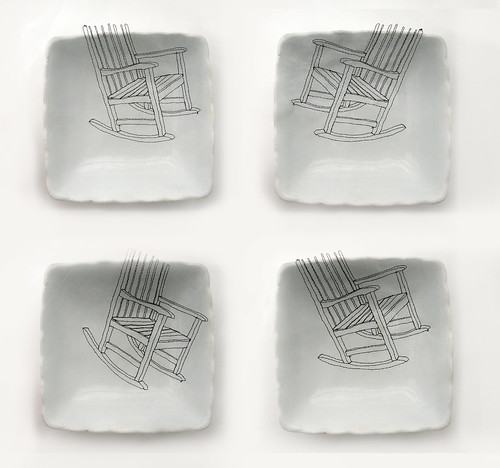
Here are a few examples of what I could have done. It's amazing what a tiny shift can do to change how the piece is interpreted. Seeing these photoshopped together I have an urge to do a series of based on chairs!
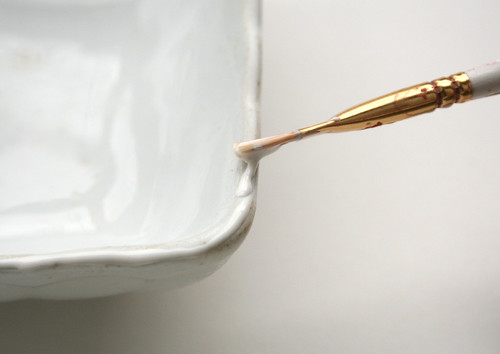
When I've decided on the final composition I sand and apply a thin line of glue to the bowl's rim. Then I gently place the silk on the bowl. This part requires a lot of precision because you can only do it once. I can probably wash the glue off before it dries and redo this step, but the fabric might warp from the moisture or I risk damaging the embroidery in the washing process. I use a PH neutral PVA glue, it's used in a lot of bookbinding applications. It's archival, dries flexible, won't yellow or crack and has great adhesion properties. I've used this glue since 2005(?)... and my first few pieces still look the same, no apparent aging/yellowing or cracking.
I've read up on a few discussions on how all PVA glue (white glue AKA Elmer's Glue) are the same. I assure you they are not! There are definitely professional grade glues that are safe for your work and others that are cheapo's. PVA glue is probably the least toxic as opposed to epoxies.

I brush on an additional layer of glue to the silk surface, this insures even coverage. I let the glue dry for a few hours and trim the excess. And that's all folks!
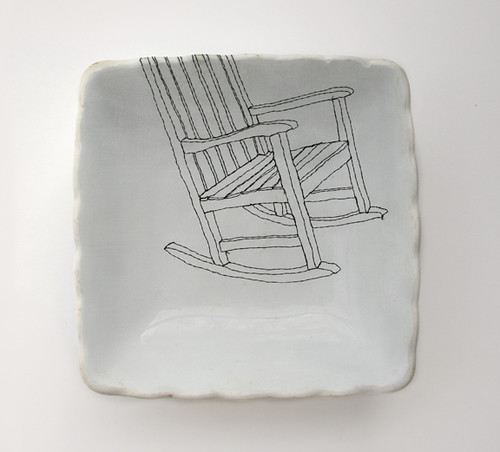
This is the finished piece.


11 comments:
even after seeing how it's done i still can't see the silk over the bowl.
it's like magic :)
very pretty.
haha Thanks Becky. The fabric is really sheer... I originally bought 5 yard years ago and I'm quickly running out. Having a hard time finding a new source.
This is so amazing. Thank you for sharing how you do it.
Thanks for visiting he blog Kathryn :)
We use silk for mounting traditional chinese/japanese/korean calligraphy. Similar process as yours, but we usually mount the silk on paper rather than on ceramics.
Have you considered checking framing/calligraphy shops in Chinatown to see what they have? You will probably have to ask and they are around $12 to $15 a metre here in Canada.
Thanks Edmund :)
The first batch I got (around 5 yards) was from a sample sale and the tag just said "silk organza" so I had no idea of the maker was or even if it was 100% silk. From the stiffness of the fabric I guessed it must have had a blend of silk and something else?
I just got another 5 yards of plain "organza" from Seattle Fabrics (another remnant shop). It's not as translucent, but it works. Still keeping my eyes out.
I've worked with the silks you talk about. They are wonderful, but very opaque.
Diem - thanks for posting your process. I stumbled upon your work just yesterday and love it. I had no idea you could glue fabric to porcelain with PVA glue. I am a book-maker and always have PVA in my studio.
Anyways, thanks again.
-Bhavna
Hello Bhavna,
I'm so sorry for the delayed response! Work has been crazy lately... the blog falls behind because of that.
Yes PVA can do almost anything LOL You have to make sure there's some "tooth" to what you're gluing together. Early on I didn't sand the edges of my plates and the glue would come off very easily. I learned I had to rough up the surface a bit. If the porcelain gets wet the glue will turn white and the embroidery can peel off.
I am so impressed such talent. I love the pieces I looked at on your web site. Thank you for sharing your process. I am still amazed
Thanks for stopping by the blog GabyKat!
I love When People turn around tradicional embroidery! I have a question about your work : do you glue all the fabric, embroidery too?
Greetings from Ushuaia!
Post a Comment